- For a printable version of these instructions please click here.
- For help using the Verifone VX520, please see the VX520 Quick Reference Guide.
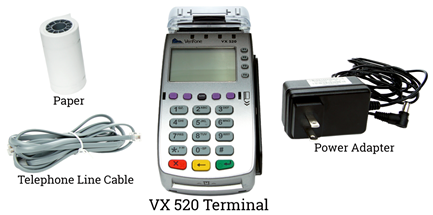
In the Box
The Verifone VX520 terminal comes with all the parts listed below, as well as a LAN ethernet (CAT 5) cord.
Connecting the Terminal
Before anything else, connect the VX520 via ethernet (LAN) or phone line. The terminal requires either an internet or phone connection to be able to run transactions and communicate with the processor.
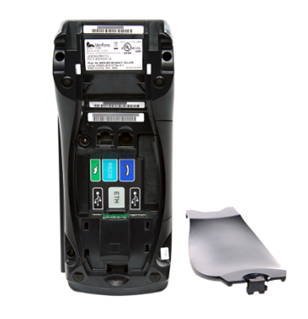
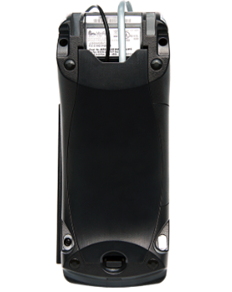
- Remove the cover from the bottom of the terminal.
- Connect an ethernet cable to the ETH port and / or a phone line to the telephone port.
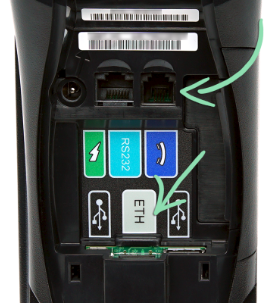
- Plug the other end of the ethernet cable into an open port on the router / modem. If you are using a telephone line, connect the other end of the phone cable to a wall jack preferably not shared with another device.
- Connect the power cord to the round port.
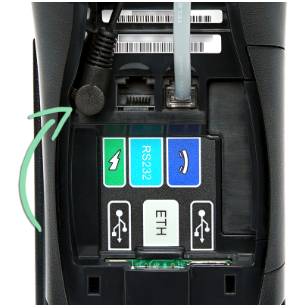
- Plug the power adapter into a power outlet. This will turn the terminal on automatically.
- Replace the terminal’s back cover.
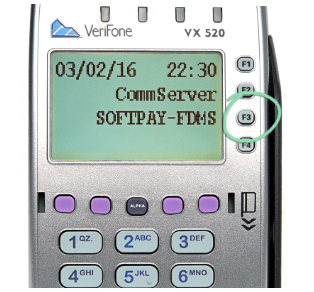
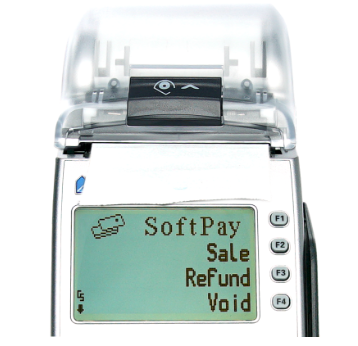
- When the terminal displays COMMSERVER and SOFTPAY-FDMS press the F3 button to get to the main menu.
Load the Paper
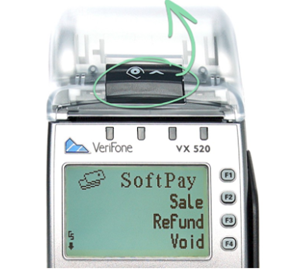
- Lift the latch to open the printer cover.
- Drop the paper into the tray with the leading edge feeding down from the bottom of the roll.
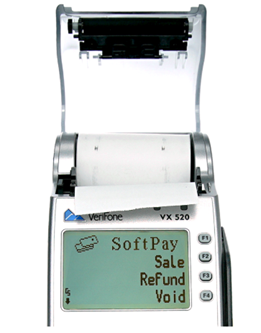
- Close the cover on the paper and be sure to have some sticking out from under the cover.
Still Have Questions?
We're here to help.