When using Link to Pay, your customer will be routed to a secured, one-time, online payment page where their invoice and customer information is pre-filled. Therefore, customers only need to enter payment information to complete payment.
Payment links are generated per individual invoice.
First time use of Link to Pay requires you to Set Up Your Invoice-Payment Link.
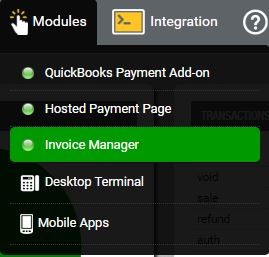
- Go to modules
- Invoice Manager
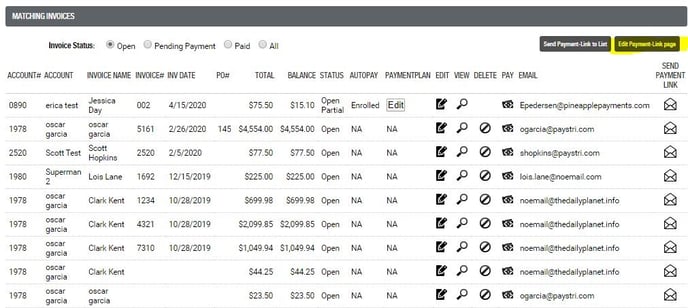
- Go to View Invoices

- Select Edit Payment Link page on the far right
- Configure your payment page preferences by deciding what type of information you want to display and collect from your customers.
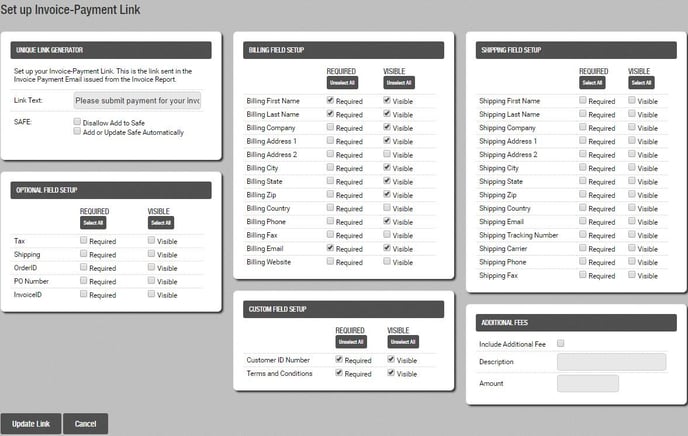
- Click Generate Link when finished with selections.
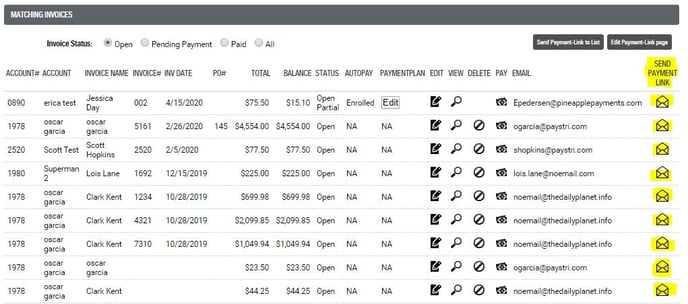
After your Payment Link page is created, send customers their unique Link To Pay.
- Go to Modules
- Invoice Manager

- View Invoices

- Select the Envelope icon next to your customer’s invoice to email your customer their unique payment link. Alternatively, you can select Send Payment-Link to List if you wish to email all customers at the same time.
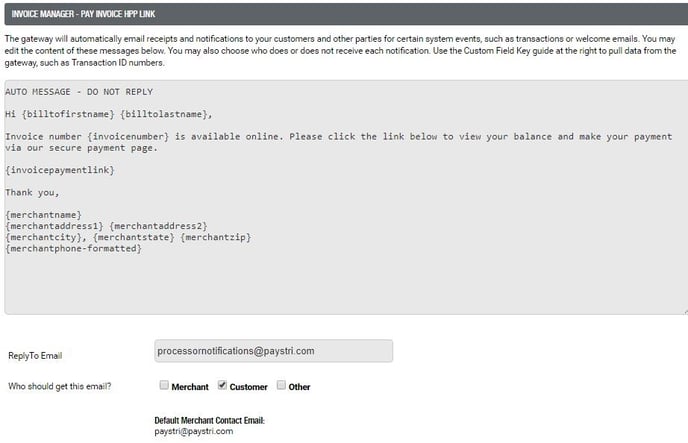
To ensure customers receive the Link To Pay email, make sure your email notification for Pay Invoice HPP Link is set to notify ‘Customer’.
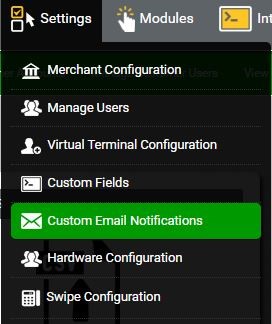
- Go to Settings > Custom Email Notifications from the primary navigation menu.
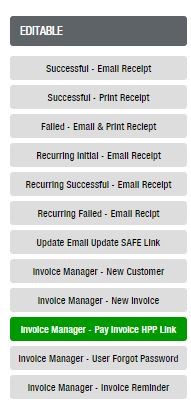
- Select Invoice Manager - Pay Invoice HPP Link editable email templates from the left-hand menu
- Make sure the Customer box is checked for ‘Who should get this email?’
Still Have Questions?
We're here to help.