Before using Invoice Manager, you must complete initial setup and configuration.
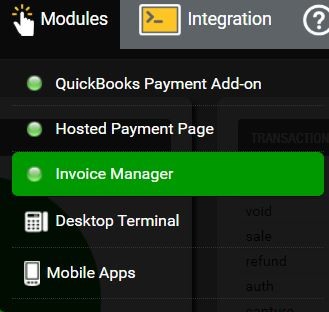
- To begin, navigate to Modules and select Invoice Manager.
- Adjust the general settings for Invoice Manager using the Invoice Manager Configuration box.
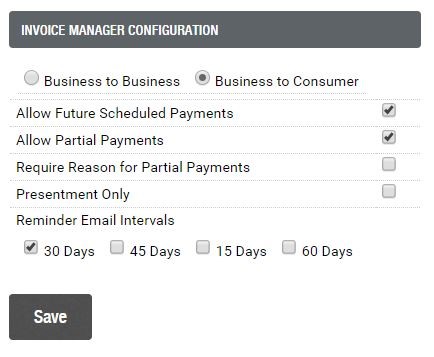
Business to Business vs. Business to Consumer: Control how customers access invoices and make payments.
- Business to Consumer (B2C)= Single-user access. There is one account for one user. Invoices and payments can only be accessed by that single user.
- Business to Business (B2B)= Multi-user access. There is one account for multiple users. Invoices and payments for the account can be accessed by any of the users tied to that account.
Configuration options:
- Allow Future Scheduled Payments:Only applies if your customers will be pay via the online Customer Portal. Enable this feature to allow customers to schedule one-time future payments (example: Customer logs in to Customer Portal on Monday and schedules payment for Friday).
- Allow Partial Payments / Require Reason for Partial Payments:Allows customers to pay an invoice balance in increments rather than the full balance all at once. You can enable “Require Reason for Partial Payments” to require customers provide a message reasoning their need for a partial payment.
- Presentment Only: Use Invoice Manager system as “Presentment Only” so customers can only view invoices online. This disables online customer payment functionality.
- Reminder Email Intervals:Enable for automatic customer email notifications when invoices are outstanding for 15, 30, 45, or 60 days.
After you configure your settings and click save.
Still Have Questions?
We're here to help.