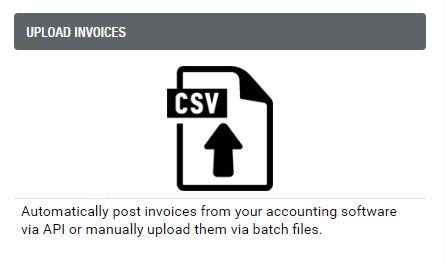
- Upload a spreadsheet of customer and invoice data
- Use API’s to integrate with Invoice Manager
- Use the Invoice Builder to manually create an invoice
- Send invoices from Quickbooks Desktop
1. Uploading a spreadsheet
Create a spreadsheet (CSV format) with your customer and invoice information and upload that spreadsheet into Invoice Manger.
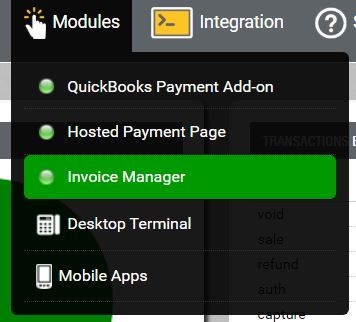
Once logged into the Paystri gateway:
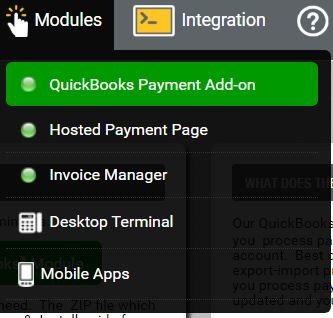
- Hover over MODULES in the top task bar

- Click on INVOICE MANAGER
- Click Upload New Invoices Button
-
Either build a .CSV file from scratch or make sure your existing file meets our minimum required fields. Click “View sample file format” to export a .CSV file showing all available data field headers.
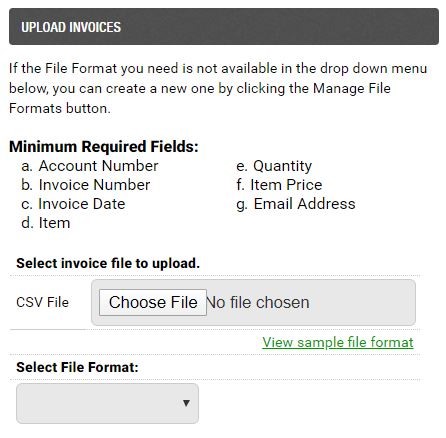
Once your file is formatted with your applicable customer and invoice data, proceed to upload file.
If it’s your first time uploading, or you’ve changed the placement of your data headers in your file, you must create a File Format Template first. This matches your data fields to ours.
If you’ve already created a File Format Template that matches the placement of your existing file, proceed ahead.
Select Upload New Invoices
- Click button to Choose File
- Choose file with your invoice and customer data to upload.
- Select matching File Format and proceed by selecting Upload Invoice File.
- If file meets minimum requirements and data is formatted properly, the file will begin to process. Await email confirmation when upload is complete.
- If file does not meet minimum requirements or data is not formatted properly, a notification message will alert you of problems. Correct your file and retry your upload.
2. Use API’S to integrate
If you wish to connect other software systems to Invoice Manager, you’ll need a programmer to integrate via API.
- Go to the Integration tab on the main navigation menu to see our API Docs and Sample Code.

3. Use the Invoice Builder to manually create an invoice
You can create invoices directly from our Invoice Manager Portal using the invoice builder.
- Click on Manage Customer Accounts in Invoice Manager to begin.

- If the invoice is for a new Invoice Manager customer, you will need to add the customer before you can create their invoice.
- Go to ‘Manage Customer Users’

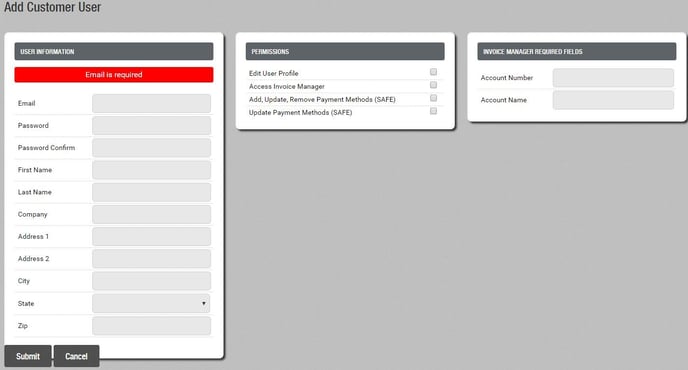
- Click ‘Add New Customer’ to create the customer.
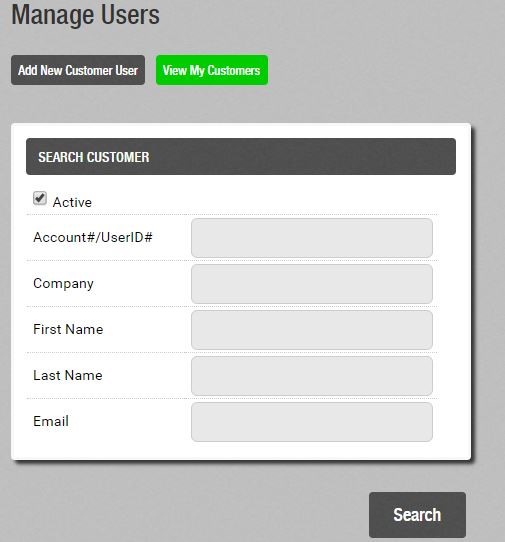
- Enter in User Information, enable permissions, and provide a Customer Account Number and Account Name.
- Once the customer is added to Invoice Manager, search for the customer from ‘Manage Customer Accounts’

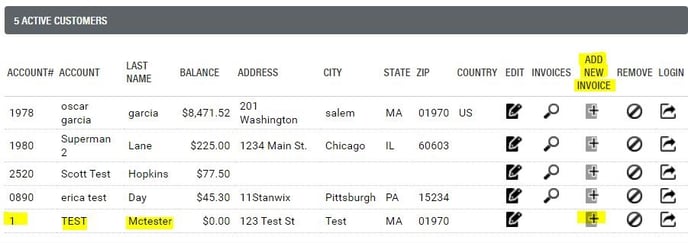
- Click ‘Add New Invoice’ icon next to customer.
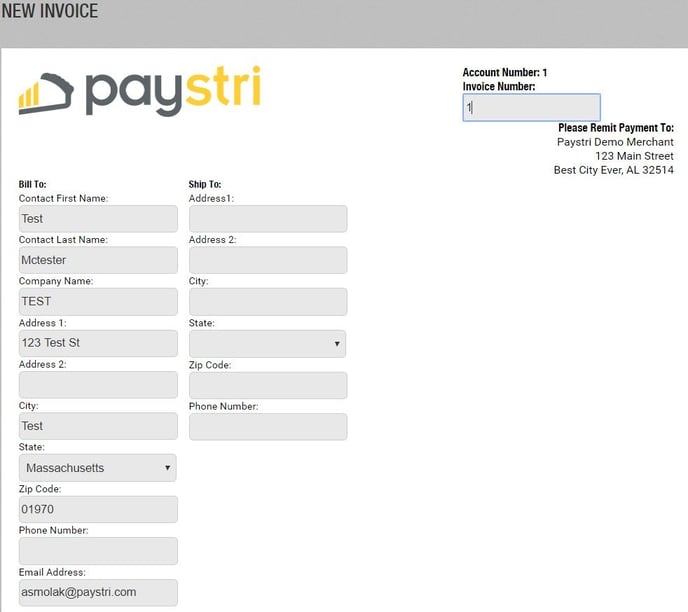
Fill out the New Invoice form.
- Bill To/Ship To information is imported from the Customer Record.
- Select “Add Line Item” button if generating an invoice with multiple line items.
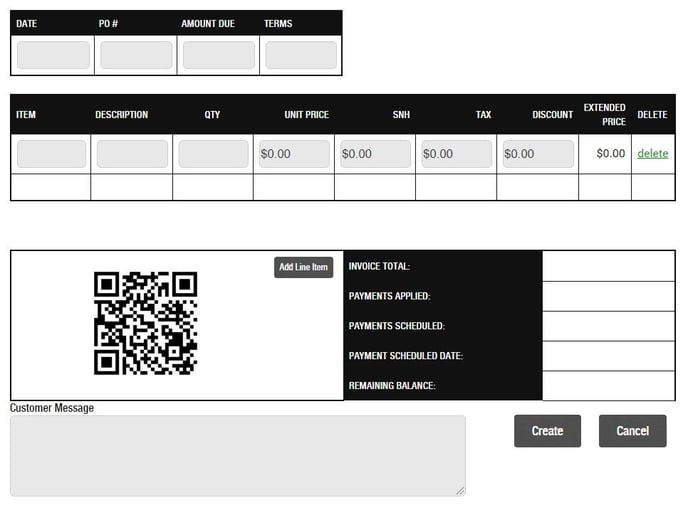
- Click Create to generate invoice and finish.
4. Send invoices from QuickBooks Desktop
Couple Invoice Manager with Pineapple’s QuickBooks Desktop Integrated Application for seamless connection. You must successfully install and complete setup of our application first. Once installed, find Pineapple on the Customer tab of QuickBooks and proceed with next steps.
- Important: Invoice Manager references unique Account Numbers to identify customers. Edit any QuickBooks Customer record, click on the Payment Settings tab and locate the ACCOUNT NO. field. A unique account number must be designated.
- When ready to begin, choose Send Invoices.
- Send Invoices Dialog box appears. Use filters to extract which customers and invoices you want to send to Invoice Manager.
- Click Filter to display invoice data. Use the Selected, Select All, and Select None options to choose which specific invoices you want to import.
- Click Send Data.
- A progress status window will appear automatically. Invoice and customer data will be imported individually. Watch the status window to review status and confirm successful import or error.
- Choose Complete when finished and login to Pineapple Platform > Modules > Invoice Manager > View Invoices to view the successfully imported QuickBooks invoices and take away actionable insight (View, Pay, Send Payment Link, etc.)
- Depending on your Email Preferences, the customer should have successfully received an email notification when the invoice was imported.
Still Have Questions?
We're here to help.